Gadgets
Seven Things To Consider Before Buying The Right Mic For DSLR
Seven Things to Consider Before Buying the Right Mic for DSLR, DSLRs are the popular types of cameras used by video content creators and digital marketers.
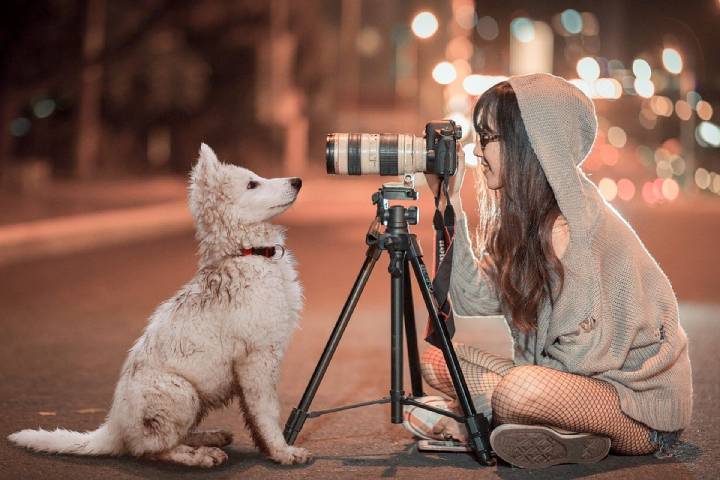
DSLRs are the most popular types of cameras being used by video content creators and digital marketers today.
Nowadays, video marketing is booming.
As a result, bloggers are also leveraging video marketing by repurposing their blog content for growing their YouTube channel. Most YouTubers, vloggers, and other videographers use DSLRs for recording good quality videos.
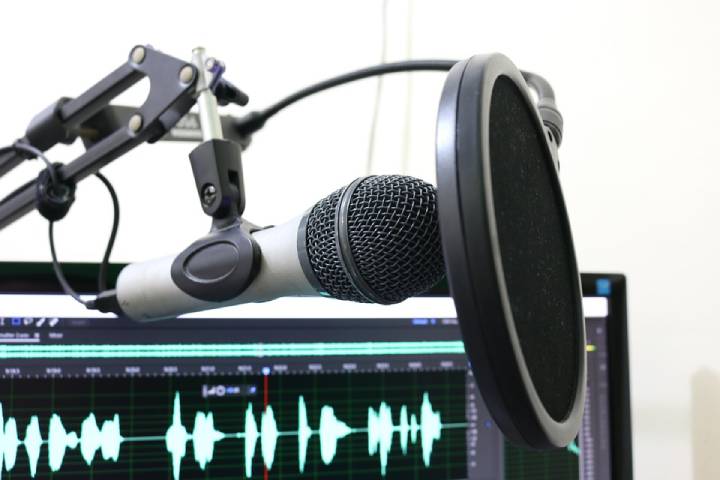
One downside that is common to all DSLRs is the audio quality. For some reason, the audio does not meet up with the video in terms of a clear and crisp presentation.
The clarification is to use an external mic connected to your DSLR. So, when you want to get your external mic, what are the things that you must consider?.
Seven things you need to consider while buying a mic for DSLR
Table of Contents
1. On camera or boom mic?
An on-camera mic and a boom or shotgun mic are quite similar in design. They’re both elongated to some extent, but shotgun mics are longer than on-camera mics.
Although some on-camera mics are usually called shotgun mics, the true shotgun mics are typically mounted on boom poles, not on the DSLR.
On-camera mics come with shock mounts that enable them to attach to the camera quickly. If you need to get close-up audio from your subjects, you need a shotgun mic with a microphone boom arm.
On another hand, if your caption is close enough to the camera, an on-camera mic will do.
2. Polar pattern

The polar pattern describes the angles that your mic picks up from the sound.
Depending on your particular requirements, you may need any of these patterns:
Omnidirectional: This kind of mic picks up sound from every direction and angle. Therefore, your sound capture is not only limited to what’s right in front of the mic but also everything around the mic. This can be useful if you’re capturing ambient sounds for your project.
Cardioid: This polar pattern picks up sound from sources directly in front of it. It rejects most sound coming from other angles. It can be useful when you’re capturing sound in a place where you can’t control the noise.
Super-cardioid: This is a more precise form of cardioid mics. They pick up sound only from the front of the mic, but at a higher level of precision, rejecting more ambient noise than cardioid mics.
3. Microphone type
There are different microphone designs useful for various purposes. For your video project, you can have any of these types:
4. Handheld microphone

As the name suggests, it is designed to be held in the hand while being used. Such mics are very handy and unidirectional.
It can be useful if you don’t mind the mic being very central in your video. It’s not very common among DSLR users because most don’t like holding the mic in their hands while recording.
5. Lavalier microphone
A lav mic is a small clip-on mic that is carefully placed by clipping it on the subject’s clothing. If you’re recording a single person, these types of lav mics for DSLR will give you the best audio quality.
Because of its placement, it is shielded from environmental noise, thereby giving more clarity to what’s being said.
6. Frequency response

Most mics give you up to 20Hz to 20kHz frequency response, and some do not give you as much range.
If you’re capturing ambient sounds from your environment, you need mics with the most comprehensive frequency range. This is because natural sounds in the background fall in a wide range of frequencies.
However, if you’re capturing speech mainly, you can use 50Hz to 16kHz conveniently. In this case, consider choosing a mic that has a presence boost. This is a big mid boost that emphasizes human speech and brings more clarity.
7. High pass filters
High pass filters can also be very useful in eliminating unwanted noise from your recording. Most background noises come from low-frequency traffic noise.
If your mic has a high pass filter switch, it prevents these noises from getting captured.
8. Power
While some mics have batteries, others get their power from your DSLR. It’s essential to consider your power options if you do a lot of outdoor video recording.
In this case, it’s better to use a mic that is powered by its batteries, so that it does not cause added power load for your camera.
9. Shock mount
This is fundamentally important if you’re attaching your mic directly on top of the camera. While moving the camera, a good shock mount prevents handling noise from ruining your audio recording.
With shock mount, there are no creaks due to shifts or movement of the camera handler.
You must be sure that your mic has the kind of shock mount that works well with your camera. If it does not come with the camera, it may be available as an accessory.
10. Conclusion
If you want to enhance the condition of your video, you must take audio seriously.
This includes knowing the same what type of external mic to use with your DSLR.
I’m sure this article has helped in that regard. Happy hunting!
How AI Is Reshaping Digital Marketing Strategies in 2026

Maximizing ROI with HCI: Real‑World Benefits for IT Leaders

Search Atlas: What the Platform Does and Why It Leads in Local SEO
How Alert Fatigue Is Increasing Cyber Risk

How Apps Can Make Employee Communication A Lot More Simple

The Global Awakening: Understanding Gen Z’s Voice 🌍🎤

Canva AI: Your Creative Co-Pilot, Explained 🎨🤖

DALL·E AI: Redefining Creativity with Artificial Intelligence 🎨🤖

Runway ML: The Future of AI-Powered Creativity 🎥✨

🎨 Midjourney: The Complete Guide to AI Art Generation in 2025

Buy IG likes and buy organic Instagram followers: where to buy them and how?

100% Genuine Instagram Followers & Likes with Guaranteed Tool

7 Must Have Digital Marketing Tools For Your Small Businesses

Instagram Followers And Likes – Online Social Media Platform

Use of 3D Printing in Injection Molding
Top 25 Best SolarMovie Alternatives Updated List

13377x Original Site: 1337x Official Site, Proxy Sites, Movies, Torrents

Principles of Good Software Engineering

How To Get Started With Artificial Intelligence

Tamilrockers Alternatives: TamilRockers Proxy and Mirror Sites [working]
-
Instagram5 years ago
Buy IG likes and buy organic Instagram followers: where to buy them and how?
-
Instagram5 years ago
100% Genuine Instagram Followers & Likes with Guaranteed Tool
-
Business7 years ago
7 Must Have Digital Marketing Tools For Your Small Businesses
-
Instagram6 years ago
Instagram Followers And Likes – Online Social Media Platform