Internet
5 Tips for Creating Better Excel Spreadsheets
Knowing how to utilize Excel to its fullest potential can make a big difference in your personal and professional life. Here are five tips to improve your following Excel spreadsheet:

Creating an effective and well-designed spreadsheet can be challenging, but following a few simple tips can help you create a functional and visually appealing document.
Knowing how to utilize Excel to its fullest potential can make a big difference in your personal and professional life. Here are five tips to improve your following Excel spreadsheet:
Table of Contents
1. Use color sparingly
When it comes to color, less is often more. Using too much color in a spreadsheet can be overwhelming and make reading difficult. Stick to a limited color palette, using different shades to highlight important information.
Also, on the subject of colors, be consistent with your color choices. Clashing colors can be confusing and make your spreadsheet look unprofessional.
2. Know how to switch the axis
If your data is organized horizontally, you can switch the axis to appear vertically. This can be helpful if you want to create a bar chart or column chart. To do this:
- Select the data you want to graph, then click the “Insert” tab.
- In the “Charts” section, choose either a bar or column chart.
- Click the “Switch Row/Column” button in the Data group.
3. Use white space effectively.
White space doesn’t have to be white—it just refers to the empty areas on your spreadsheet. Using white space effectively can help break up your content and make it easier to scan.

Also, don’t be afraid to use more than one sheet when it comes to white space. If your spreadsheet gets too crowded, create a new sheet and link the two together.
4. Choose an appropriate font.
The font in your spreadsheet should be easy to read and legible in all sizes. Arial, Calibri, and Times New Roman are all excellent choices.
And speaking of fonts, be sure to use a consistent font throughout your entire spreadsheet. Mixing and matching different fonts can make your document look messy and unprofessional.
5. Use conditional formatting
Conditional formatting is a feature in Excel that allows you to apply formatting based on certain conditions. For example, you could highlight all cells with a value greater than 100.
Select the cells you want to format to use conditional formatting, then click the “Home” tab. In the “Styles” section, click the “Conditional Formatting” button.
Other things to consider when using Excel:
Keep it simple: When it comes to Excel, less is often more. Resist the urge to add too many bells and whistles.
Test your formulas: Always test your formulas before you share your spreadsheet with others. A slight mistake can significantly impact the accuracy of your data.
Error check: Error checking is a built-in feature in Excel that can help you find and fix errors in your formulas. To use error checking, click the “Formulas” tab, then click the “Error Checking” button in the “Formula Auditing” group.
Save often: Be sure to save your work often, especially if you are working on a large and complex spreadsheet. Losing your work can be frustrating, so it’s better to be safe than sorry.
Following these tips, you can create an Excel spreadsheet that is both effective and visually appealing. By formatting your document correctly, you can save yourself time and frustration in the long run.
How AI Is Reshaping Digital Marketing Strategies in 2026

Maximizing ROI with HCI: Real‑World Benefits for IT Leaders

Search Atlas: What the Platform Does and Why It Leads in Local SEO
How Alert Fatigue Is Increasing Cyber Risk

How Apps Can Make Employee Communication A Lot More Simple

The Global Awakening: Understanding Gen Z’s Voice 🌍🎤

Canva AI: Your Creative Co-Pilot, Explained 🎨🤖

DALL·E AI: Redefining Creativity with Artificial Intelligence 🎨🤖

Runway ML: The Future of AI-Powered Creativity 🎥✨

🎨 Midjourney: The Complete Guide to AI Art Generation in 2025

Buy IG likes and buy organic Instagram followers: where to buy them and how?

100% Genuine Instagram Followers & Likes with Guaranteed Tool

7 Must Have Digital Marketing Tools For Your Small Businesses

Instagram Followers And Likes – Online Social Media Platform

Use of 3D Printing in Injection Molding
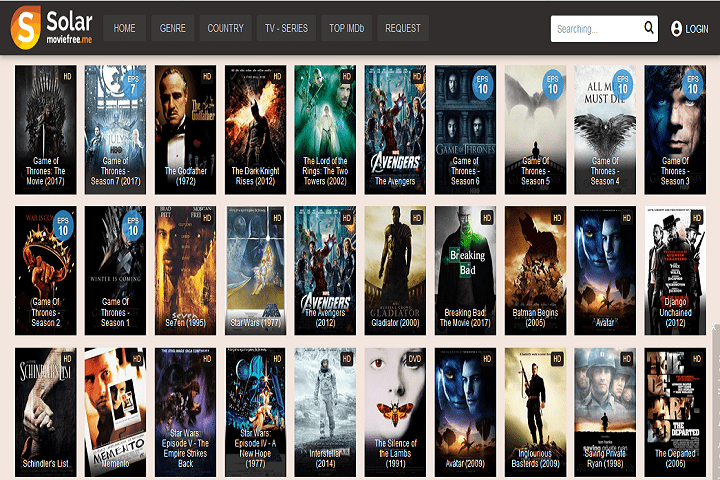
Top 25 Best SolarMovie Alternatives Updated List
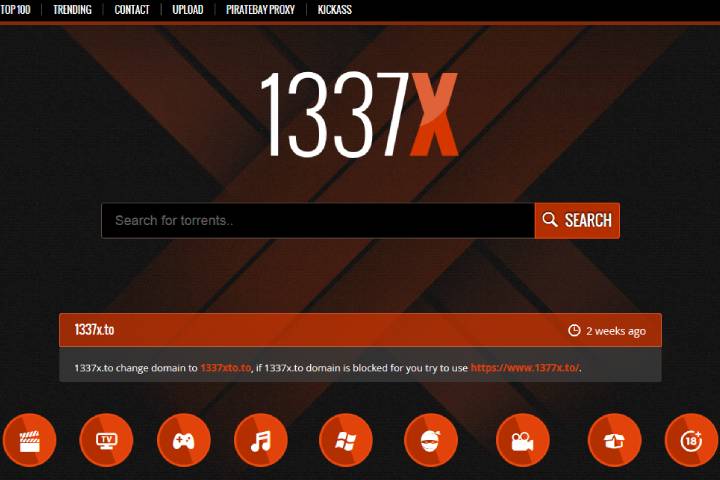
13377x Original Site: 1337x Official Site, Proxy Sites, Movies, Torrents

Principles of Good Software Engineering

How To Get Started With Artificial Intelligence

Tamilrockers Alternatives: TamilRockers Proxy and Mirror Sites [working]
-
Instagram5 years ago
Buy IG likes and buy organic Instagram followers: where to buy them and how?
-
Instagram5 years ago
100% Genuine Instagram Followers & Likes with Guaranteed Tool
-
Business7 years ago
7 Must Have Digital Marketing Tools For Your Small Businesses
-
Instagram5 years ago
Instagram Followers And Likes – Online Social Media Platform