Computer Network
How to Get Ready for Virtual Meetings
This year the popularity of virtual meetings has skyrocketed. Previously, they were used infrequently, as most people still shuttled into work in the morning.

This year the popularity of virtual meetings has skyrocketed. Previously, they were used infrequently, as most people still shuttled into work in the morning. However, following the coronavirus, all that changed. Lockdown restricted people to their homes. As a result, businesses turned to virtual meetings as a way to connect employees and their clients.
Yet, due to their rapid uptake, many people are still unsure about the ins and outs of virtual meetings. Namely, how to set it up and what can go wrong.
In this article, we’ll explore how to get ready for a virtual meeting.
Table of Contents
1. Test your connection
People often forget to test their internet connection. However, a slow or lagging connection can ruin a meeting. Both you and your other attendees are forced to sit through the stuttering video. Eventually, you abandon the session entirely. Instead, test the connection.
Most video conferencing apps will list the required bandwidth on their website. But remember, the more attendees, the more bandwidth is required. Furthermore, if there are others in your house using the internet, kindly ask them to refrain from heavy bandwidth activity: gaming or streaming.

2. Video and audio
Both your camera and audio will need to be checked. There are two methods for doing so. First, you can record a short video of yourself. Say a few words, then watch it back for quality. Second, you can organize a quick call with a colleague; that way, you know both video and audio work in the app. Ask them and let you know if there are any questions or issues.
Whatever you do, don’t wait until the start of the meeting to discover your video and audio don’t work. Save everyone the hassle; check it beforehand.
3. Load a virtual background
Virtual backgrounds are chronically underappreciated. They have the power to transform a virtual meeting radically. Hello, Backgrounds offers virtual backgrounds for a zoom that is suitable for any occasion. Using green screen technology, virtual backgrounds replace your home backdrop with an image of your choice. This can range from swanky offices to stylish apartments, or even a vivid natural landscape.

So, don’t settle for a messy home or a dreary apartment. Instead, boost meetings with these virtual wonders.
4. Lights, camera, action
When setting up your camera, don’t just test to see if it works. You will also need to consider lighting and positioning.
In regards to lighting, you will need to find a location with ample natural light. Ideally, sit beside a window. You want the light source adjacent to or in front of you. If positioned behind, you’ll appear as a gloomy silhouette. Furthermore, avoid the use of lamps.
Sometimes it’s unavoidable; however, lights are prone to casting dark shadows. If you need to use a lamp, opt for a circular LED lamp. These are preferred by YouTubers and other streamers due to the even and natural appearance of the light.
Next, position the camera at eye level. If the camera is too far below your face, it will stretch out your appearance. As such, find a stack of books, or invest in a laptop stand. When talking to the camera during a meeting, look directly into the little black dot.
Although this will seem unnatural to your attendees, it will look as if you are making eye contact. This has been shown to increase the appearance of confidence and trustworthiness.

5. Limit distractions
When working from home, distractions are rife. Pets are known to start howling and barking. Children start running around or asking you for a specific toy. Even for younger people, flatmates can be a source of noise. As such, try to sit in a quiet location.
If you have a busy road outside, shut the window. If the people you live with are noisy, ask them to keep it down temporarily. If you have pets or children, see if someone can look after them for the course of the meeting. Doing this will massively help your concentration and also limit any disruptions.
However, there are other sources of distraction: phone or computer notifications. Try to limit these as it will only hamper your concentration.
6. Review the agenda
If your meeting has an agenda, try to think of what you want to say ahead of time. You might even have some assigned tasks. However, virtual meetings tend to be stilted. People struggle to communicate through a screen adequately. That’s where the extra preparation comes in handy.
If you’ve already thought of what you want to say, you’ll never fall into an awkward silence. Plus, it helps in ensuring your discussions are fruitful and productive.
Helpful Resources:
1. Computer Monitor and Other Remote Work Must-Haves
How AI Is Reshaping Digital Marketing Strategies in 2026

Maximizing ROI with HCI: Real‑World Benefits for IT Leaders

Search Atlas: What the Platform Does and Why It Leads in Local SEO
How Alert Fatigue Is Increasing Cyber Risk

How Apps Can Make Employee Communication A Lot More Simple

The Global Awakening: Understanding Gen Z’s Voice 🌍🎤

Canva AI: Your Creative Co-Pilot, Explained 🎨🤖

DALL·E AI: Redefining Creativity with Artificial Intelligence 🎨🤖

Runway ML: The Future of AI-Powered Creativity 🎥✨

🎨 Midjourney: The Complete Guide to AI Art Generation in 2025

Buy IG likes and buy organic Instagram followers: where to buy them and how?

100% Genuine Instagram Followers & Likes with Guaranteed Tool

7 Must Have Digital Marketing Tools For Your Small Businesses
Instagram Followers And Likes – Online Social Media Platform

Use of 3D Printing in Injection Molding
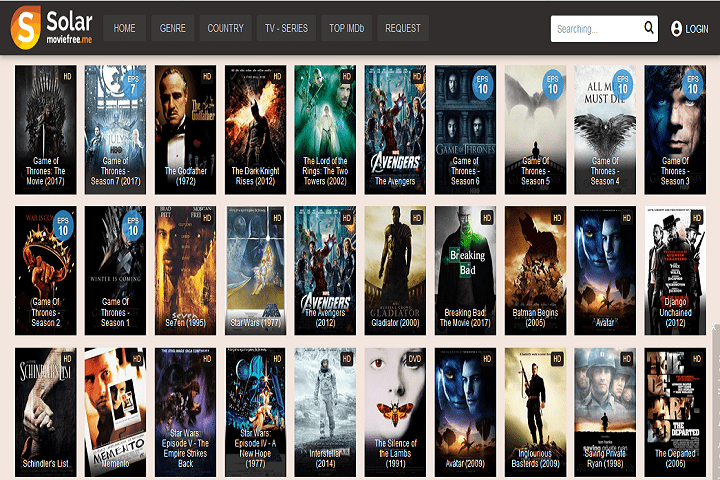
Top 25 Best SolarMovie Alternatives Updated List

13377x Original Site: 1337x Official Site, Proxy Sites, Movies, Torrents

Principles of Good Software Engineering

How To Get Started With Artificial Intelligence
Tamilrockers Alternatives: TamilRockers Proxy and Mirror Sites [working]
-
Instagram5 years ago
Buy IG likes and buy organic Instagram followers: where to buy them and how?
-
Instagram5 years ago
100% Genuine Instagram Followers & Likes with Guaranteed Tool
-
Business7 years ago
7 Must Have Digital Marketing Tools For Your Small Businesses
-
Instagram5 years ago
Instagram Followers And Likes – Online Social Media Platform